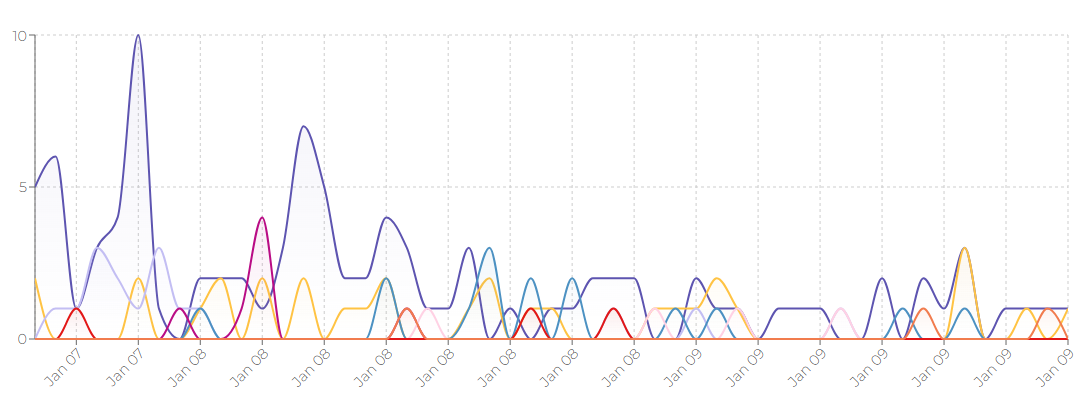
Today, we’re having a closer look at “Crowdsec” which had it’S first public commit pretty much a year ago (Dec 2021).
It aims to replace (or be better than) fail2ban which was somewhat a PIA when it came to visibility of the taken actions.
We pretty much like it, as it brings a high level of security alongside a high level of visibility and a straight forward installation process. Beside, it allows simple and easy notification upon events e.g. into SPLUNK / SLACK.
But the coolest thing: You’re able to participate from the crowd (other peoples learnings), so you’re already protected from actors that actually never accessed your system.
Overview
Before we dig deep into the tech, let’s have a first look at the features and functions:
– Logfile Scanning and analysis
– Crowd based security intelligence Black & Whitelists
– CLI driven management
– Web – Interface
– Integration into SLACK, Splunk and some others
– Fast reaction upon global security flas (log4j)
– auto detection of running services / available logfiles
– GDPR compliant
– IPv4 and IPv6
– high performance / fast scanning speed
– some other nifty features
Installation
The cool thing about CrowdSec (from an administrators point of view) is the modularity. You can install CrowdSec without any harm to your users or systems, by just installing the agent. This will not block anything bot give you some good understanding of what would happen (We call this “ALERT” or “LEARNING” mode). Once you’re sure everything is correct, you can install a bouncer (well that name might not have been the best pick) which actually takes actions upon your firewall(s) or even Cloud – SG’s or WAF.
For our environment (Debian) we were able to simply follow the existing documentation. Anyway here are the steps we followed to get it running
CrowdSec Agent & CLI
While CrowdSec is available via Debians repositories, we decided to add the dedicated CrowdSec mirror in order to maintain the latest version (Debian can sometimes be really slow in providing updated packages once a release is frozen).
Add the CrowdSec Debian repository
Once the repo has been added, crowdsec can easily be installed:
Once has been successfully installed, the Service needs to be started.
Now the “agent” is running and you can (safely – without anything getting blocked) play around and observe the behaviour. The cool thing: CrowdSec has already scanned your system and enabled the most “common” scenarios for your system.

Feel free to browse the crowdsec Hub and discover additional scenarios / collections that suite your system.
The CLI offers full control on the corwdsec agent and bouncers.
CrowdSec Bouncer
The bouncer is the missing piece, that allows you to actually block attackers. Depending on your system there are several options to get rid of malicious actors:
– Local iptables / netfilters
– Cloud Firewall
– Web Bouncers (HAproxy, wordpress, nginx, …)
and many more
On our platform, we went with the netfilter bouncer installed with the following command:
Once installed, you might want to verify the (stand alone) firewall bouncer daemon is running and connected to your agent

If you need to debug an issue, you might want to look into the logs:
Advanced Configuration
Add additional logs
For our use-case we needed to add additional log files.
For example our virtual host log files for nginx who live in /var/virtual_web/*/log/access.log )
This can be achieved pretty easy and straight forward by adding a new block into the following file:
/etc/crowdsec/acquis.yaml
Your Content Goes Here
You can feed literally any logfile into your crowdsec agent – even “CloudWatch” logs. For more information, here is the regarding doc.
Splunk Integration
CrowdSec offers several notification options (to tell you when something / someone has been blocked). For our setup, we picked the SPLUNK integration, but theres SLACK and MS TEAMS as well ass some custom HTTP HANDLER (IFTTT, Opsgenie or others).
To enable SPLUNK, amend the following 2 lines (or uncomment them) in the following file:
/etc/crowdsec/profiles.yaml
Once done, you need to configure the SPLUNK endpoint (CrowdSec makes use of the HTTP INPUT to deliver log data to splunk)
Open the following file and configure at least “url” and “token”:
/etc/crowdsec/notifications/splunk.yaml
Make sure, you got your SPLUNK instance ready to listen to logs sent by CrowdSec (Create an HTTP Input). Here is some additional doc on the CrowdSec – SPLUNK integration.
From the complex JSON log – structure, you can start additional investigations or add additional alerts.
Web Console
As teasered above, CrowdSec offers a Web Console you can link your agents against, to obtain more visibility. The console ( today ) is BETA and has no chance to actually WRITE to your agent. But – and this is the great benefit – it allows you to monitor CrowdSec decisions and actions on your systems.
The access the web console, just register a free account at http://app.crowdsec.net/ and confirm your email address.
Once done, the console will directly present you an cscli command to add your first node
Running the command on your local CrowdSec instance, it will be added to the web console immideately.
Here are some screenshots taken from our Web Instance


Some useful CLI commands
APIs everywhere, that’s why CLI’s are so important to allow easy administration.
Here are some useful CLI commands to operate CrowdSec


Leave A Comment
You must be logged in to post a comment.